
One of the rewarding reasons to attend Inside 3D Printing and other Expos is to find solutions to nagging problems in our 3D Printing work. And regardless of the brand, desktop 3D Printer users are usually messing with the balance between sufficient adhesion to the print pad, and ability to easily remove a build.

When I saw the demo of the BuildTak 3D Printing Build Surface at the New York Inside 3D Printing Show in April, I knew I had to try it on our own 2nd generation Cube 3D Printer from 3D Systems. As anyone who reads my blog posts regularly knows, I am a HUGE Cube fan, and the little machine travels around with me performing flawlessly. Even outdoors, I have no problems with the printer itself.
But like every desktop 3D Printer, there are times when the proprietary glue we use to hold prints onto the build plate has not been in optimal conditions. Such as when using the wood stove to heat the lab during this past sub-zero winter in Maine! My glue dried out and I could not get it out of the tube. Fortunately, I had a spare unopened tube that saved the day, but not everyone thinks about spare supplies.
So, I was anxious to try what manufacturer Ideal Jacobs is calling the “ideal 3D Printing build surface”. BuildTak is a thin, plastic sheet that adheres to the print bed of FDM (fused deposition modeling) 3D printers eliminating, they claimed, the need for tape, hairspray, or any of the other home remedies 3D Printing geeks use.
BuildTak was gracious enough to send me a sample that I tested at a 3D Printing seminar in Baltimore at Potomac Photonics. Here’s my experience:
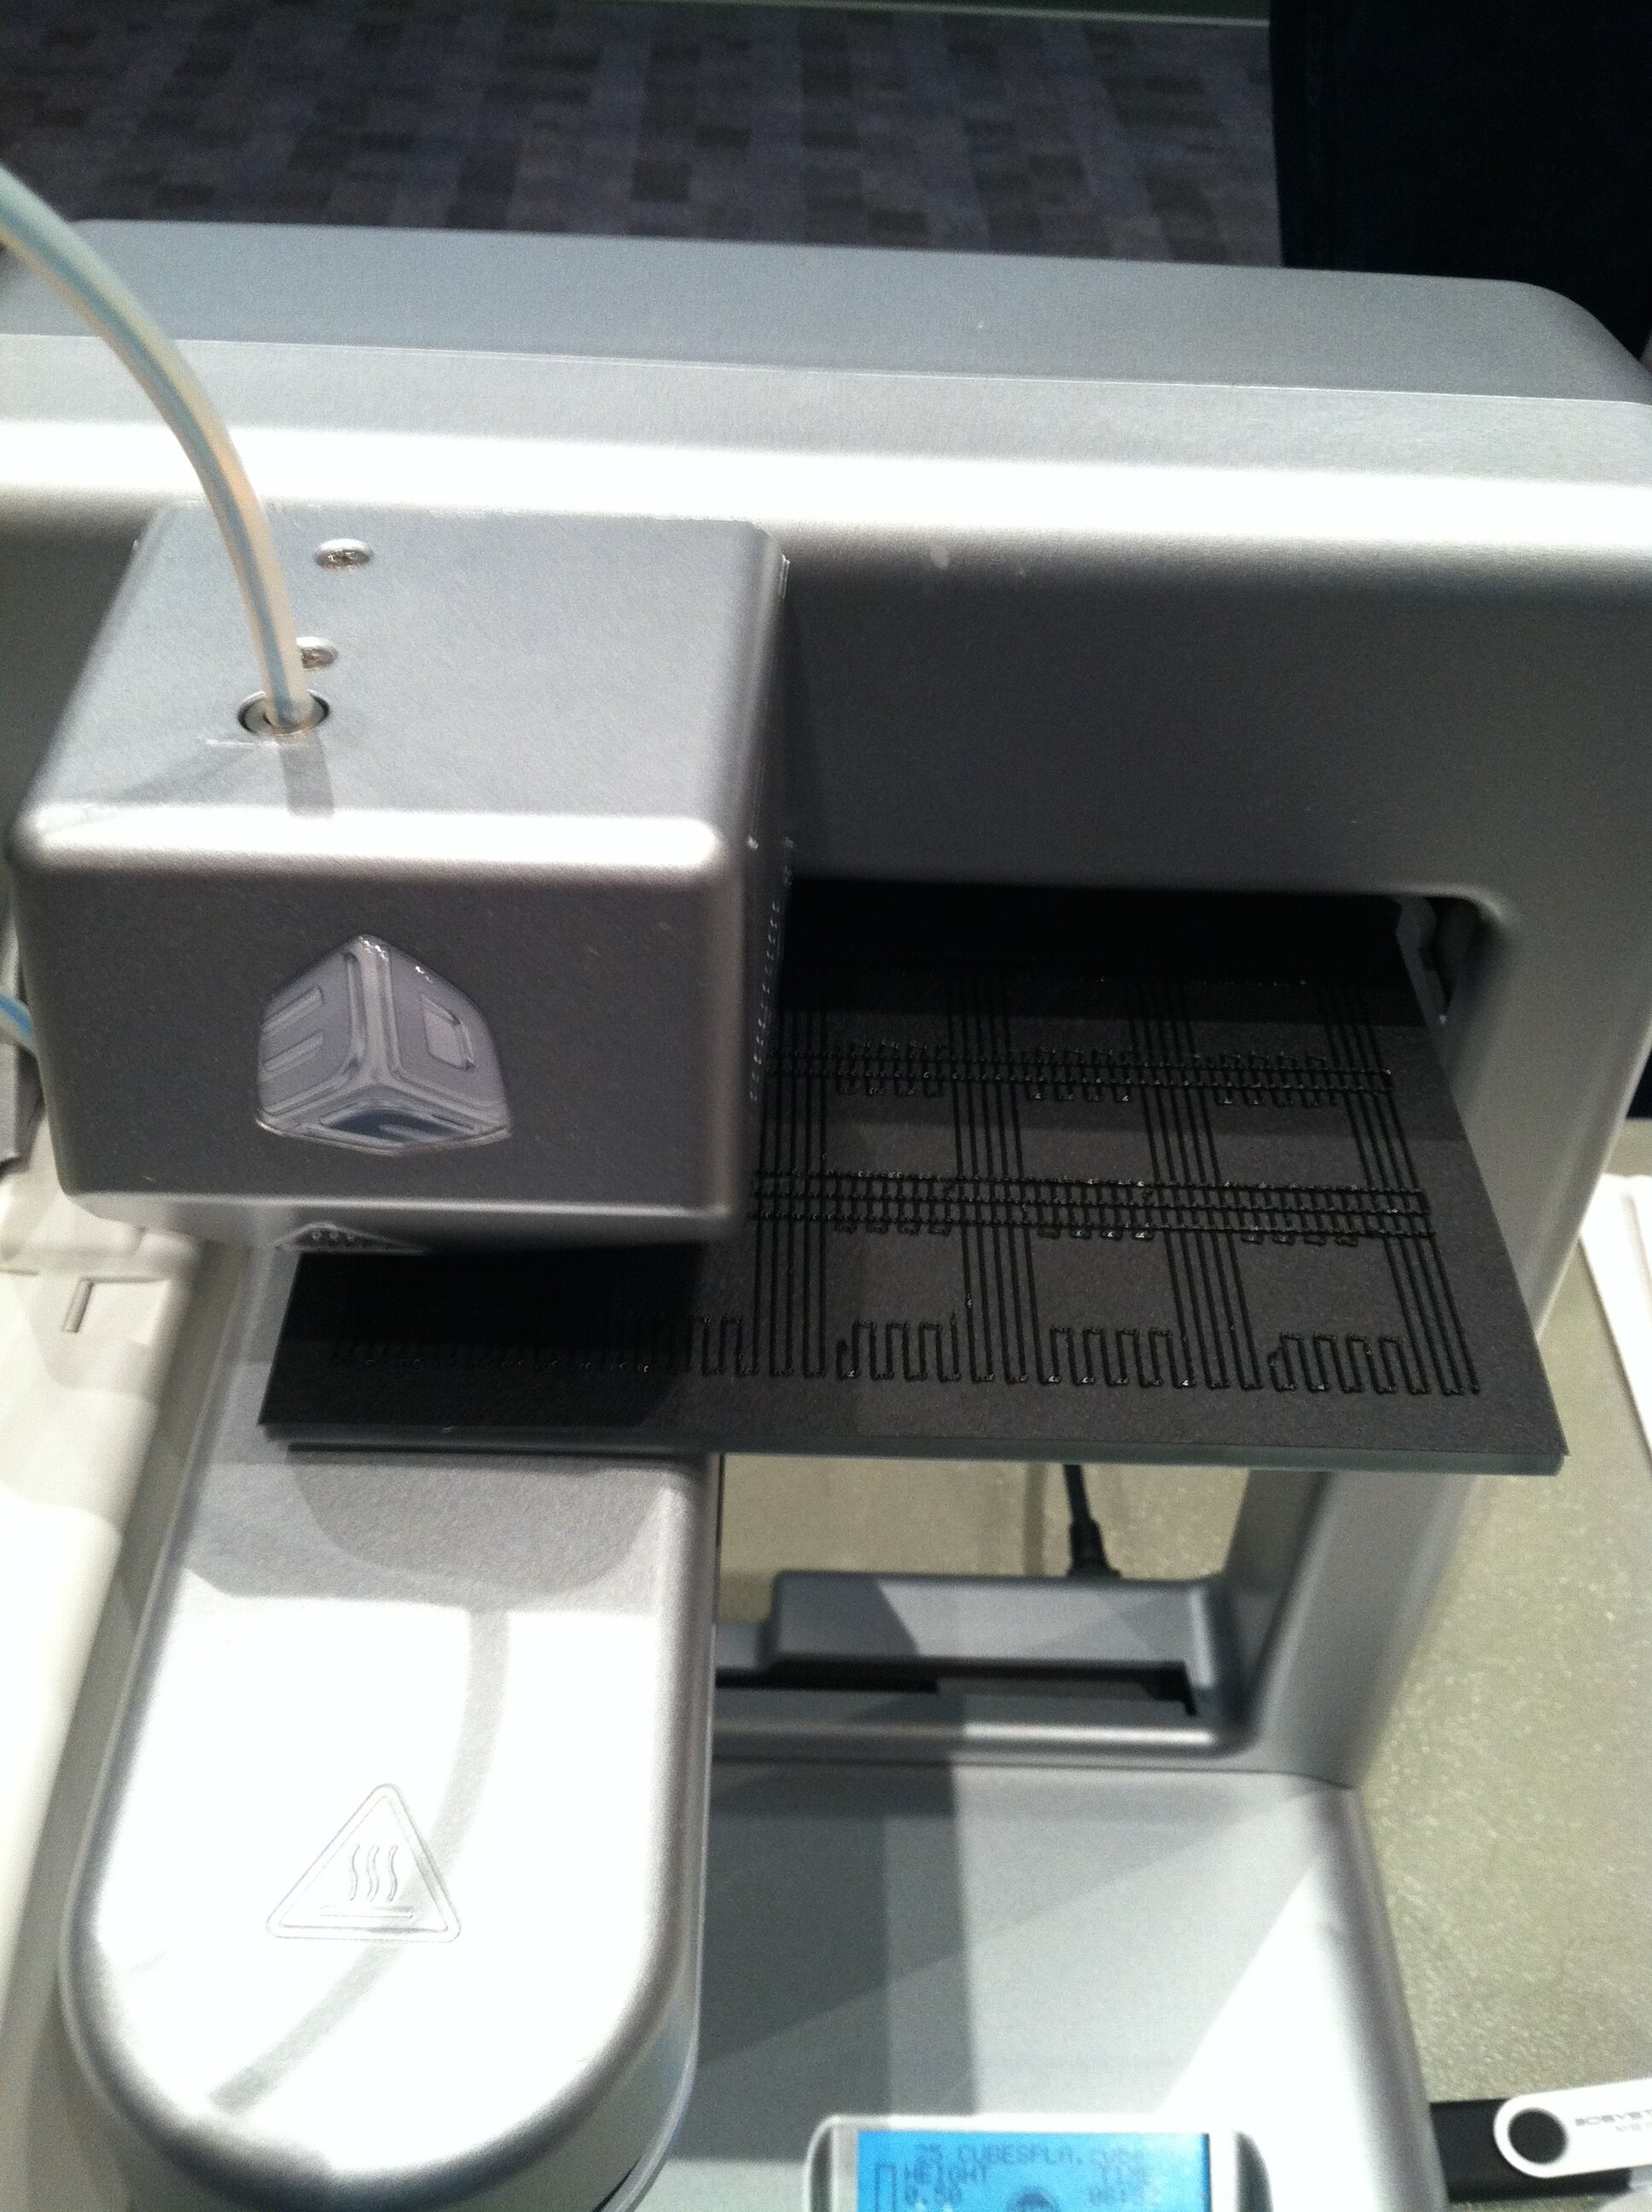
- The BuildTak sheets come in standard sizes that you cut down to fit the exact dimensions of your build plate. Using just regular scissors, I had no problems cutting the sheet down to size.
- After removing the backing, applying BuildTak was a piece of cake. The instructions suggested using something to smooth it out but I had no problem and being in a classroom only had a credit card, so I used that to be sure there were no air bubbles.
- I ran a PLA design that covers just about the entire build area, and puts down a delicate sacrificial layer. The entire design from corner to corner adhered perfectly with no lifting. There was also no warping.
- When finished, the entire design pulled off easily with no tearing.
Some additional notes:
- The Cube print pad is not heated but one of the benefits of the Buildtak is that its proprietary material is heat resistant which is a great feature for heated machines. Heat does decrease the life of the BuildTak sheet, however.
- The company estimates that a single sheet should last for about 60 builds under “normal” conditions without excessive wear and tear. I’ve now run about 20 builds and have not had a problem with any of them.
- Key to good builds and long lifetime seem to be setting the nozzle height properly which I was expert at doing for my Cube anyway. Good instructions were provided on the sheet package and if you lose that, on the website.
- The BuildTak is reasonably priced. The single sheet of BuildTak that I tested was a 6.5 x 6.5 size which sells for $6.70 with a slight discount for multiple unit packs. Sizes range from 4.5 x 4.5 to 16 x 16 with some round options as well. Given the large number of uses from a single sheet, that is competitive with other methods.
So, all in all, for my test, the BuildTak did prove to be the “ideal 3D Printing Build Surface”!